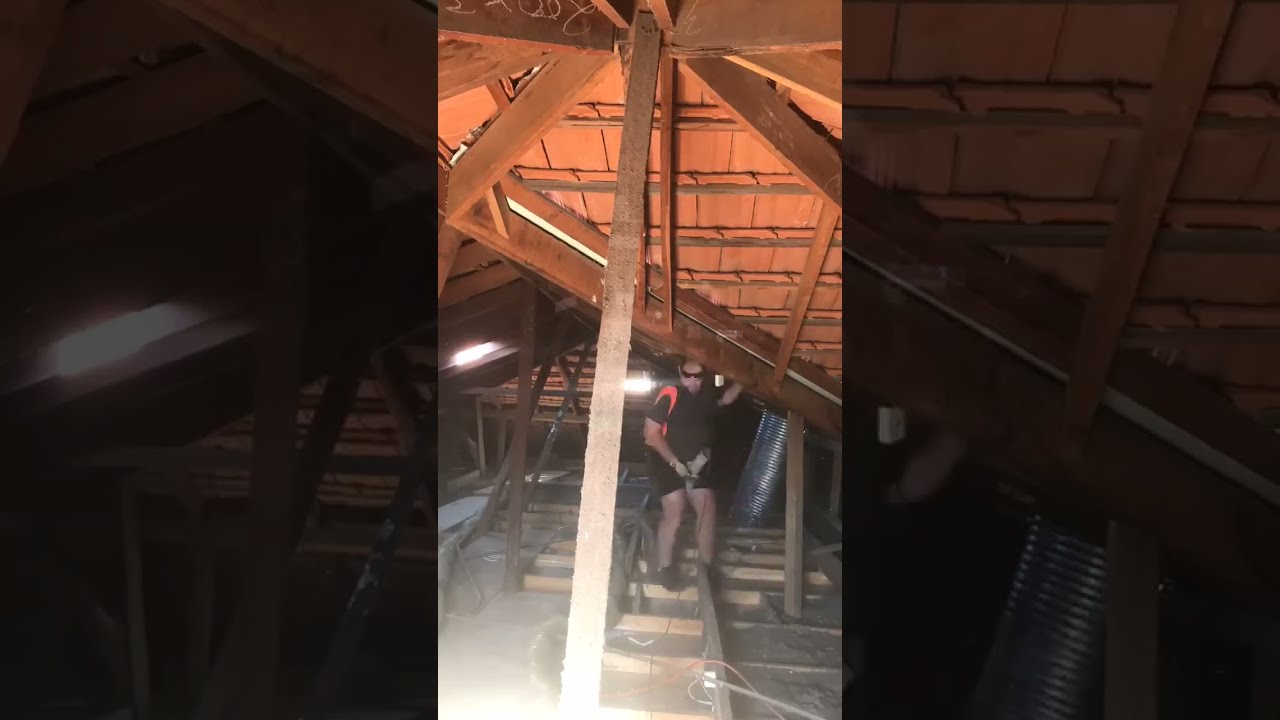
I've come to realize that tackling my home's uneven temperatures meant starting on a journey of insulation removal, a venture I never thought I'd delve into. It became clear to me that mold, aging insulation, and discomfort were signs I couldn't ignore any longer. I learned that identifying the right removal method was essential, whether it was grabbing a vacuum for fiberglass or gearing up for a more thorough manual cleanup. The process not only demands an understanding of the insulation type but also strict safety measures to protect against harmful dust. As I peeled back the layers from my cavity walls, I was moving toward a healthier, more efficient living space. Trust me, there's a satisfaction in clearing out the old and making way for new, energy-efficient insulation—a transformation that offers more benefits than you might expect.
Primary Points
- Identifying the need for insulation removal involves checking for mold, damage, or inefficiency in existing cavity wall insulation. Choosing the right removal method depends on the insulation type, with options ranging from vacuum extraction to manual or chemical methods. Safety measures, including wearing protective gear and securely bagging removed insulation, are critical to prevent health risks during the process. Post-removal, evaluate the cavity space for repairs and consider upgrading to more energy-efficient insulation materials. The installation of new insulation in cavity walls marks the final step, enhancing the home's comfort and energy efficiency.
Understanding Insulation Removal
Before delving into the practical steps, it's vital to understand why and when insulation removal becomes necessary for homeowners. Grasping this process is not just about knowing how to do it, but also recognizing the impact it has on our homes and, by extension, our lives. Insulation, after all, is not just a material tucked away in our walls or attics; it's a critical component that affects our comfort, energy efficiency, and even health.
I've come to learn that insulation removal is not a spontaneous decision. It's a thoughtful step taken when upgrading the home's efficiency or addressing specific issues that can no longer be overlooked. It's about creating a safer, more comfortable living environment for ourselves and our loved ones. As we start on this journey together, I want you to feel informed and supported. This process, while technical, is also deeply personal. It's about making our homes better, not just for the immediate future, but for years to come. Let's walk through this journey of insulation removal, understanding its importance and the significant benefits it brings to our homes and our lives.
Signs Its Time to Remove
Recognizing when it's time to remove your home's insulation can often feel like putting together a puzzle, as various signs indicate it's the right moment for this important update. It's not just about noticing a draft or a spike in energy bills; it's also about understanding the more subtle cues your home gives you.
In addition, if you've spotted mold or moisture in your attic or walls, it's a clear sign that your insulation is failing to protect your home from the elements. This not only affects your comfort but can also pose health risks to you and your family. Furthermore, if your insulation is visibly old, damaged, or has become compacted over time, it's not performing efficiently. Insulation that's no longer fluffy but instead has settled or become matted down won't keep your home warm in winter or cool in summer as it should.
Lastly, an inconsistency in indoor temperatures, with some rooms feeling colder or hotter than others, suggests your insulation isn't working uniformly. This uneven distribution can make parts of your home uncomfortable and increase your heating and cooling costs. Being aware of these signs helps me feel connected to my home's needs, guiding me toward making timely updates for our overall comfort and well-being.
Choosing the Right Method
Now that we've acknowledged it's time to remove the insulation, I'm faced with choosing the right method. I'll need to assess the type of insulation I have, make sure I'm prioritizing safety, and conduct a cost-efficiency analysis. This step is vital to guarantee the process is both effective and economical.
Assessing Insulation Type
Determining the type of insulation in your home is essential for selecting the most effective removal method. It's a journey that requires a bit of detective work, but it's absolutely worth it. You see, each type of insulation, whether it's fiberglass, cellulose, or spray foam, comes with its own set of challenges and requires a unique approach for removal. I've learned that understanding the specifics of what's behind my walls helps me make informed decisions, ensuring I don't waste time or resources on methods that won't do the trick. It's like putting together a puzzle; once you know what you're working with, the next steps become much clearer. This knowledge not only empowers me but also brings me closer to achieving a comfortable, energy-efficient home.
Considerations for Safety
Choosing the right method for insulation removal isn't just about efficiency; it's essential for ensuring everyone's safety during the process. As I explore further into this journey, I've come to recognize three key considerations that greatly impact our collective well-being:
Assessment of Existing Insulation: Understanding the type and condition of the current insulation is vital. Some materials may contain harmful substances that require specialized handling. Choosing Appropriate Protective Gear: Ensuring that anyone involved in the removal process is properly equipped with gloves, masks, and goggles to prevent inhalation or contact with hazardous materials. Professional Consultation: Sometimes, it's best to leave the task to professionals who have the right tools and knowledge, especially for materials like asbestos.Cost-Efficiency Analysis
After ensuring our safety measures are in place, let's explore how selecting the most cost-effective method for insulation removal can greatly impact the overall project budget. It's not just about pulling out old insulation; it's about making smart choices that align with our needs and financial constraints. I've learned that comparing methods like vacuum extraction versus manual removal gives us a clearer picture of upfront costs versus long-term benefits. For instance, vacuum extraction might seem pricier at first glance, but it's incredibly efficient, especially for hard-to-reach spaces. On the other hand, manual removal can be more budget-friendly if we're dealing with accessible areas. It's all about weighing the pros and cons, ensuring we're not just saving money but also investing in our home's future comfort and energy efficiency.
The Removal Process Explained
First, I'll explain how to identify the type of insulation in your home, as this step is essential for effective removal. Then, I'll provide an overview of the various techniques available for insulation removal, tailored to suit different types. Understanding these points guarantees a thorough and safe approach to this important cavity insulation removal home improvement task.
Identifying Insulation Type
Identifying the type of insulation in your home is a crucial step before beginning the removal process. It's like acquainting yourself with a member of your community; you can't effectively work with them without understanding who they are. Here's how I go about it:
Visual Inspection: I look for visible signs. Fiberglass appears fluffy and is often pink or yellow, while cellulose is more compact and grayish. Touch Test: With protective gloves, I gently feel the material. Fiberglass has a distinctive, slightly prickly texture, whereas cellulose feels softer and paper-like. Professional Consultation: If I'm unsure, I call in a professional. They have the expertise to accurately identify the insulation and advise on the next steps.This process ensures I'm not going in blind and sets the stage for efficient removal.
Removal Techniques Overview
Understanding the removal process begins with exploring various techniques tailored to the type of insulation in your home. It's a journey we're on together, and I've learned it's vital to match the method with the material. For fiberglass, I've used vacuuming, a clean and efficient way to avoid spreading fibers. Foam board insulation, on the other hand, required careful cutting and prying out, ensuring I didn't damage the surrounding structures. And for spray foam, it's been a bit more challenging, requiring a combination of cutting and chemical removal to dissolve it properly. Each step of the way, I've made sure to wear protective gear, keeping safety as my top priority. It's been a learning curve, but together, we're making our homes safer and more energy-efficient.
Handling and Disposal Safely
When removing insulation, it's important to prioritize safety and make sure proper disposal methods are followed. Diving into the process without the right preparation can not only be hazardous to health but also to the environment. I've learned that taking the necessary precautions guarantees a smoother operation for everyone involved.
Handling insulation, especially materials like fiberglass or foam, requires careful attention to avoid irritation or harm. Here's a three-step guide I follow to stay safe and responsible:
Wear Protective Gear: Always wear gloves, a dust mask, and protective eyewear. This is essential. It keeps me safe from inhaling dust or fibers that could cause harm.
Bag it Properly: I make sure that all removed insulation is securely bagged. This prevents any particles from escaping and causing air pollution. Using thick, durable bags is a must to avoid tears.
Dispose Responsibly: Finding out where to dispose of the insulation is vital. I always check with local waste management services to make sure I'm following local regulations and guidelines. Some materials may be recyclable, which is an added bonus.
After Removal: Next Steps
After safely removing and disposing of the old insulation, it's essential to evaluate the space for any necessary repairs or updates before installing new insulation. This step is critical, as it guarantees the longevity and effectiveness of the new insulation. I closely inspect for any signs of moisture damage, mold, or structural issues that might compromise the insulation's performance. It's also the perfect time to contemplate upgrading to more energy-efficient materials or methods, making my home not just safer but also more sustainable.
Next, I seal any air leaks. This step is often overlooked, but it's crucial. Sealing gaps around windows, doors, and other penetrations can significantly increase the effectiveness of the new insulation. It's like buttoning up your home against the elements, ensuring that the warm or cool air stays where it's supposed to be.
Once these preparations are complete, I'm ready to install the new insulation. This phase feels like a fresh start, an opportunity to enhance my home's comfort and energy efficiency. It's a meticulous process, but the promise of a more comfortable, energy-efficient home makes it all worthwhile. Being part of this journey, from removal to renewal, brings a sense of accomplishment and belonging to a community of homeowners dedicated to improving cavity wall insulation removal their living spaces.
Conclusion
In wrapping up, I've uncovered the layers on insulation removal, affirming the theory that understanding and action can transform a challenging task into a manageable project. Whether it's identifying the signs, selecting a method, or maneuvering disposal, we're more equipped than ever. I'm convinced that with the right knowledge and approach, we can tackle this directly, ensuring our homes are safe, efficient, and ready for the next step in our insulation journey. Let's embrace the clarity this brings!